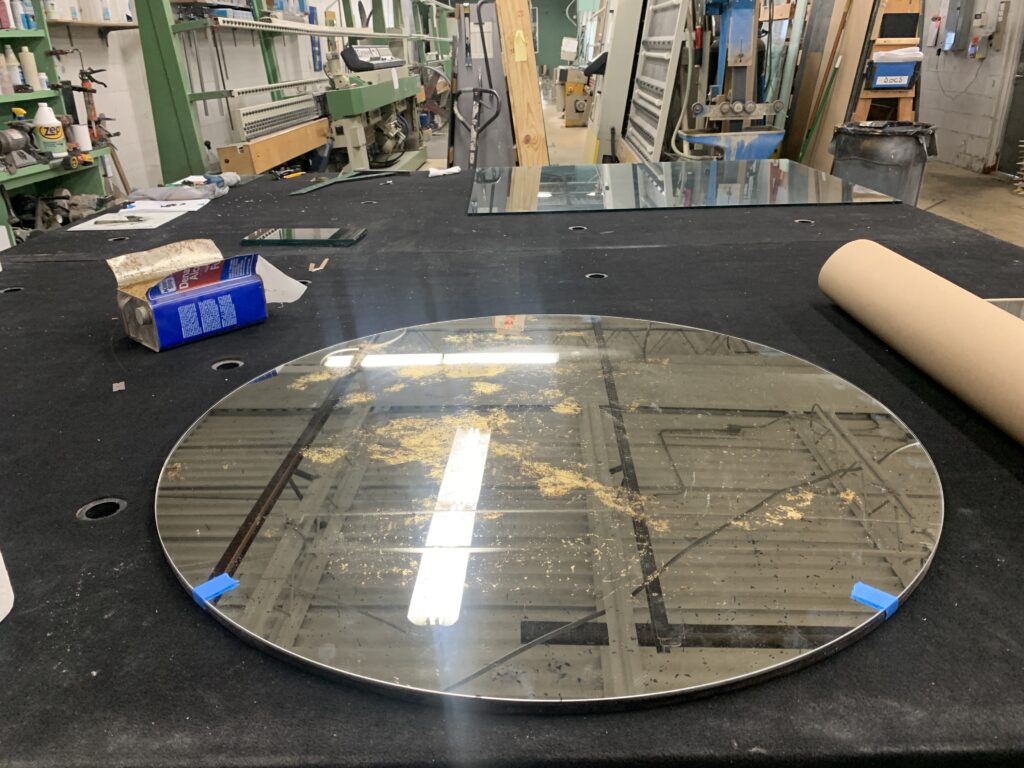
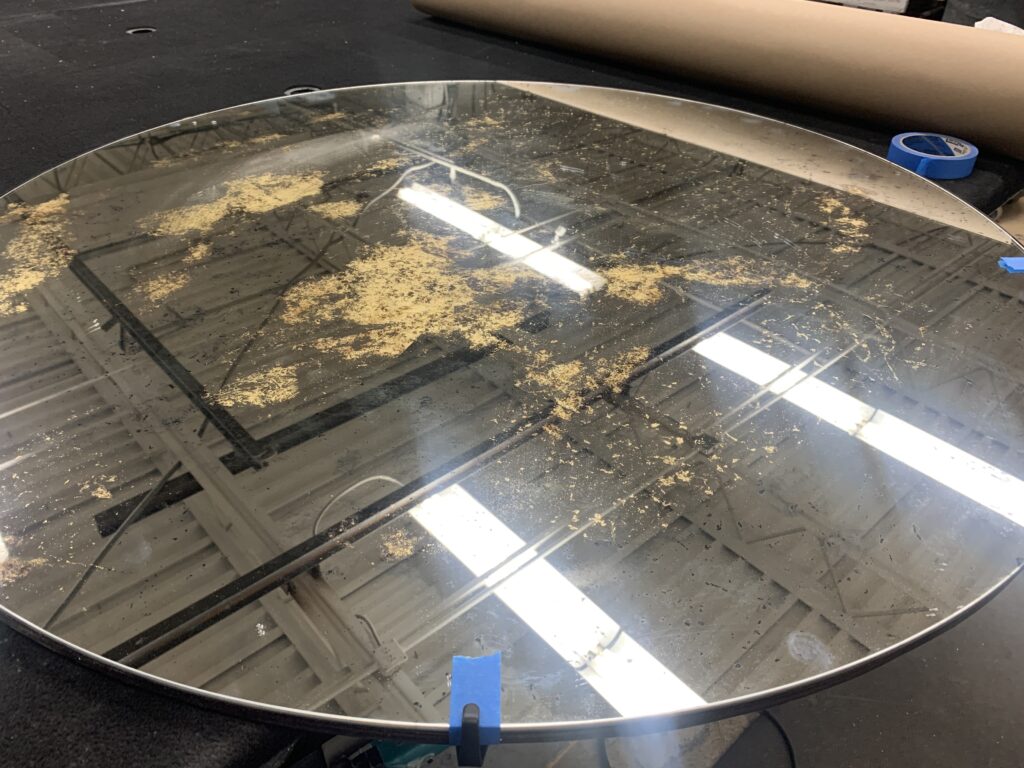
The hanging system is two aluminum pieces, an angled bar that is attached to the mirror’s back and a receiving bar that is attached to the wall. The two angles interlock and prevent the object from falling off the wall.
One part of the hanger is attached to the mirror but **you will have to attach the adjoining piece to your hanging surface (wall, etc.). Screws and anchors are not included with the mirror, as different surfaces require different screws.**
The metal meant for mounting on your hanging surface is attached with blue tape.
For large mirrors, please let your installer know that they will have to drill the metal and provide screws for mounting the piece.
The most important thing is that you make sure the metal cleat is level before you screw it into the wall. Past that, the hanging process requires you to match the metal brackets and check the mirror for stability.
—
Here is a youtube video that shows a French cleat installation
www.youtube.com/watch?v=UHlgns7jxW4
And another
www.youtube.com/watch?v=W_fexEv1-9s
– Clip location is marked on the mirror by the blue tape or by a elevated piece of wood on the backside of the mirror
– Each clip should sit apx. In the center of the blue tape
– screw each clip into the wood backer using 2 1/2” pan head #8 or #10 screws
**IMPORTANT
– The wood backer is 1/2” thick, so any screw longer than 1/2” will crack the glass behind the backer!!
– the bottom of the clip should just come into contact with the bottom of the glass. We highly recommend placing a plastic shim in between the metal clip and glass. Over tightening the metal j clip can crack the glass, so be VERY careful!!


